I think I've attended so many cookouts myself to be able to see the warning signals of a cookout that will serve sooty, tough, or straight up dangerous meat to her guests. Below are some of the mistakes which I think are common to most grillers especially the beginners and there are also great tips on how to avoid these mistakes.
MISTAKE #1: MAKING USE OF MATCH-LIGHT COALS OR LIGHTER FLUID
The thought: Most beginners are often faced with the temptation of dousing their coals in liquid fuel because they want it to light faster! It also doesn't help that these lighter fluids and match-light coals can be found in large quantities at almost every grilling aisle in supermarkets and at the home centers. It's actually not that difficult to figure out why so many people go for lighter fluid. Try to hold a match right under a coal and I bet you won't get very far off.
Reality Check: These fires, after blazing up in a little flame of fire, quickly fizzle out and die. This way, you find yourself pouring more and more lighter fluid over the coals just so maybe you can keep the flames up. All appear to be normal, not until your first bite of a gasoline-scented hamburger. The fact is, even if the lighter fluid fire only lasts a few seconds, you are still going to taste it on your food and trust me; you're not going to like it.
Fix it: What you actually require is a chimney starter. Put some old newspapers beneath it, pack coals on top of it light some fire on the newspaper with a lighter or a single match, and allow it to do its magic of drawing oxygen up and through the coals, making them burn efficiently without you requiring any lighter fluid at all.
MISTAKE #2: SPREADING THE COALS BEFORE THEY BECOME FULLY GRAY
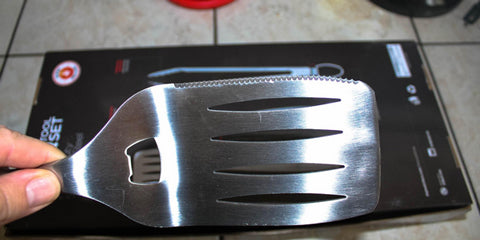
The Thought: But my stomach hurts! You’re hungry, I get it. Especially with the feel of a spatula right in the palm of your hands, everything begins to look like a burger to you. You are not patient enough to have the food put on the grill, to hell with the gray ash!
Reality Check: When you begin your cooking before your coals are ready, you only end up with poorly-flamed heat, unpredictable cook times and off-flavors.
Fix It: Be patient! It’s not for no reason that it is written on the bag that you should wait for the coals to be covered in gray ash before you begin your cooking. A fire that seems fairly hot with the coals still looking black will quickly become a small inferno as long as the coals remain ignited. Your first priority when it comes to grilling should be temperature control and the best way to get the most desired cooking results is to wait for the coals to stabilize.
MISTAKE #3: FORGETTING TO PREHEAT THE GRILL
The Thought: I think the fire is hell hot. Let’s get cooking.
Reality Check: It’s possible that there is a lot of radiant heat (the infrared heat that is felt on the hand when it is held above the grill), but it’s very likely that the grill grates are relatively still cool and this simply implies that your food will be starved of the much needed conductive heat that it requires—which is the heat that is transmitted straight from the grill grates. This way, your food might easily stick to the grill gates instead of just having those dark good looking grill marks and having your meat sticking to metal is a real chemical bond that is almost impossible to smoothly detach. Your food begins to tear and shred rather than appear neatly done.
Fix it: Once you have lit your fire, make sure the grill is well covered and preheat it for at least 5 to 10 minutes so that the heat from the fire can be transferred to the grill grates. Pre-heated grill grates mean that your food has a lesser chance of sticking to the metal since its proteins change their shape before there is even direct contact with the metal.
It even easier to clean hot grills and this leads us to…….
MISTAKE #4: DON’T FORGET TO CLEAN THE GRATES!
The Thought: Fire destroys everything. Food that is burnt adds flavor. No one will notice. And a bunch of others…
Reality Check: You take your chicken off the grill and it comes off with bits of last night’s carbonized pork chops stuck all over it, or even worse, the chicken you grill tonight ends up sticking to the pork you grilled last night, leaving behind some of its outer layers on the grill. Likewise, part of tomorrow night’s asparagus will also stick to today’s chicken and this endless loop of burnt-on layer food continues to grow more and more like a Katamari until one day, the whole prime ribs and turkeys will get stuck to the grill.
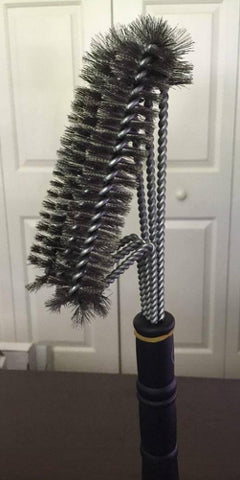
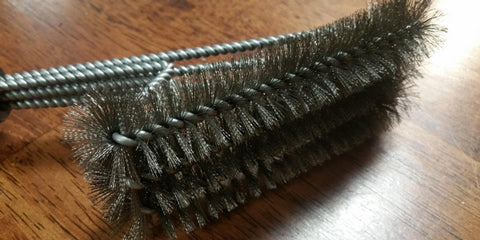
Fix it: Ensure you clean the grill grates. Make use of only a grill brush and very little amount of elbow grease.
Extra tip: If you use your grill regularly to cook, you don't have to bother cleaning it immediately after since you might really be focused on feeding your hungry guests and catching up with the conversation. Don’t also try to clean it at the end of the evening when the grill has already cooled off and the sticky stuff has become hardened. Rather, you should clean off the heated grease and food left over the next time you want to use it, just after preheating. It will be easier to scrape off all the old remains.
MISTAKE #5: DON’T USE TOO MUCH DIRECT HEAT
The Thought: I like meat and I like fire. I really like big meat with big fire. The bigger the fire, the tastier the meat.
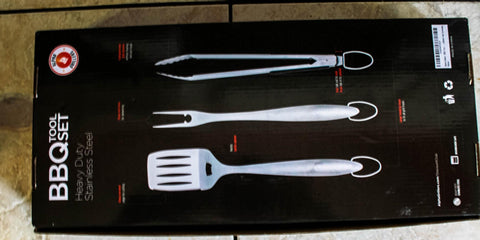
Reality Check: You will only end up burning your steak on the outside before it even gets to the center. You’re busy looking for where to move your steak with your excellent BBQ tools but every part of your grill is hotter than you’d want it to be.
Fix it: Build for yourself fire zone that is two-phased. On a coal grill, meaning that the coals under the half of the grill are equally spread while the other half is left either covered with an extremely thin layer of coals or is left empty. In a gas grill, what this implies is that you have to light the burners only on one side, while the other side is left on very low heat. Having two zones gives you a lot more control over what you’re cooking. Move the meat and vegetables to the side that is hot for fast searing, or you can move it to the much cooler side if you want to cook it gently. Have your meat covered on the side of the grill that is cool, you can then create a setting inside that is oven-like and use for grill-roasting the bigger portions of meat like the leg of lamb or a prime rib.
MISTAKE #6: YOU’RE CONSTANTLY FUTZING WITH THAT LID
The Thought: Is it ready yet? No, It’s not.... Is it ready yet? No, it's not… Is it ready yet? You know I’m sure you get what I’m talking about. It’s like you can’t resist the urge to keep checking on your big ol' pork chop.
Reality Check: Constantly raising the lid with a gas grill makes it lose some of its heat. This makes your food to cook a lot more slowly. Constantly raising the lid with a coal grill does exactly the opposite, you make room for oxygen to come in and this makes the coals to flame hotter than you'd want them to, causing your meat to get burnt.
Fix it: Exercise some little patience! Not that it's a crime to want to always check on your food as they cook, but you should also note that each time you open and close the lid, you're constantly altering your cooking temperature. Don’t forget this basic rule: Opening the lid while cooking on a gas grill makes it cooler, but on a charcoal grill, opening the lid makes it hotter.
MISTAKE #7: YOU MISTAKE GOOD LOOKING FLAMES FOR GREAT TASTING MEAT
The Thought: The major difference between indoor and outdoor cooking is the use of live fire right? Hence, you probably think it’s a good thing that you should let your burgers and steaks get swallowed up in flames.
Reality Check: Leaving your meat to be engulfed by flames leaves it with a sooty, wrong-tasting deposits right on the food’s surface. Little flames and a bit of fire flares now and then are just ok, I’m sure you don’t want the fire getting a good taste of our steak before you do.
Fix it: You need three things to create fire: fuel, energy, and oxygen. Those flare-ups are usually caused by the oily fat that is dripping from your meat, adding a little bit of fuel and igniting the coals or the grill bars underneath. Skimming off some of the excess fat before grilling can help reduce these flare- ups, but the fact still remains that most people would prefer to have the fat on their well-marbled steak or their juicy looking burger from the very beginning. If you are not trying to cook so many things at once, the easiest way to manage these flare-ups is to simply move the meat from the hot side to the cool side of the grill until the flare-ups die off before you then return it carefully.
However, if your grill is so full that you can’t really move things around, then you are left with only two options: turn down the supply of heat in the system or cut off the supply of oxygen. Using a spray bottle to sprinkling water at the little flare-ups will actually help to reduce the energy because some of the energy will be diverted to evaporating this water.
The second option which seems like the better one is to just close the lid and cut off the supply of oxygen. With the lid and vents closed down a few moments, the flames should easily choke off.
MISTAKE #8: DON’T ASSUME THAT THE VENTS ARE THERE FOR DECORATION
The Thought: I’m sure these little looking things can’t possibly have any effect on my large-sized flame.
Reality Check: The best way to control oxygen and the flow of heat right within your charcoal grill is by adjusting the position of the vents.
Fix it: The amount of oxygen which your coal receives can have a huge impact on how well it burns. If the oxygen is much, this can turn out to become soot-inducing flames. If it’s too little, then they just choke themselves out. You can use both the upper and lower vents on your charcoal grill to adjust the amount of oxygen that comes in, thereby directly affecting the amount of heat your grill generates. While cooking chicken, brisket or ribs gently and slowly over indirect heat, you should ensure that the vents are closed. Nicely searing the outer part of a burger or a big fat steak, then you should leave the vents open to encourage more heat (remember not to let the flames lick up the meat!).
How you place the top and bottom vents can make all the difference! I prefer to have my lower vents directly opposite the food with the lid vents placed right above it so as to encourage the flow of convection currents in and out than hovering above and around the food.
MISTAKE #9: DON’T ADD THE BARBECUE SAUCE TOO EARLY!
The Thought: Painting your food with several layers of barbecue sauce will give it more flavor.
Reality Check: Your sauce begins to burn and becomes acrid long before your meat is ready. You’ll notice your guests stylishly scraping off the blackened soot layer from the chicken before pouring some extra sauce just to reduce some of the bitterness, but it still doesn’t work, the bitterness lingers on, throughout the night.
Fix it: Doesn’t matter how early you apply the barbecue sauce, it won’t really penetrate the chicken. The best you get is surface treatment, meaning that even if you add it when the cooking is almost done, you’ll still get as much flavor as you would out of it, so why risk burning it. For those using the sweet barbecue sauce, paint the sauce on your meat using a brush when it’s like 5 to 10 minutes to cook.
MISTAKE #10: DON’T COOK TOO MANY DIFFERENT THINGS AT ONCE
The Thought: Some people would like to have chicken, some would prefer sausages, and others would love burgers, so why not have them all cooked at once?
Reality Check: You end up with your burgers overcooked, your chicken undercooked, all your food items cross-contaminated, and none of it really tastes as good as it should.
Fix it: When grilling, it’s best to stick with one type of food one at a time and stay focused on making the most of it. The amount of heat (high) which you will need for nicely done burgers or steaks is different from the heat (low) used for sausages or chicken. Whenever I’m organizing a cookout, I always try to ensure that I’m cooking my meat types one at a time. I just need to make available some snacks and side dishes for those who probably don’t like what I'm cooking at the moment. You end up having good food for all your guests leaving them happy in the end.
MISTAKE #11: YOU'RE POKING YOUR MEAT TO FIGURE OUT IF IT'S DONE
The Thought: I've often seen people on TV who use their fingers to poke their steak to tell if it's done, seems like the professional way to do it. I’m sure you know how they do it. You just need to poke the ball of your thumb using your other hand by holding the forefinger to your thumb. Hold your middle finger and then it’s not so good yet. Hold your third finger and it’s perfectly done.
Reality check: You’re most likely not a professional, and so you haven't grilled the hundreds or thousands of steaks that are required before you are able to perfect your poke-test finger. Whether done or raw, your steak still ends up well.
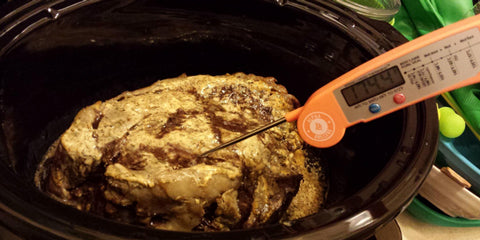
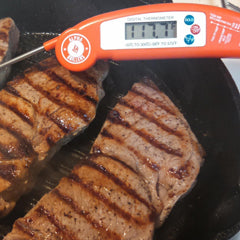
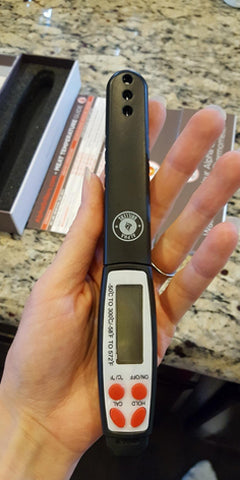
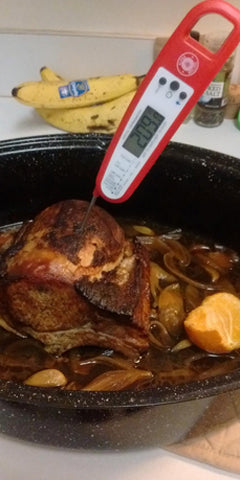
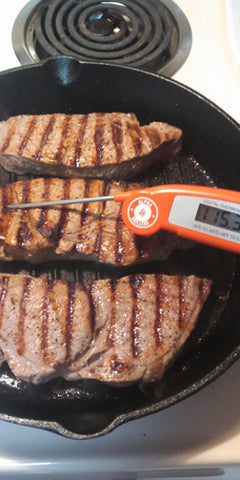
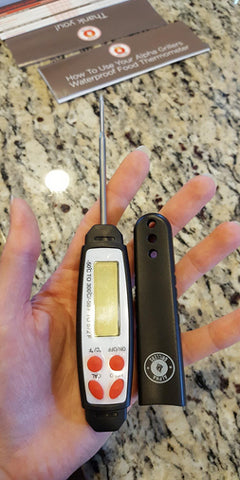
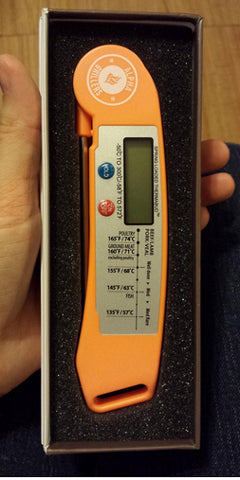
The Fix: Ignore the entire poke test. You need to understand that firstly, everyone’s fingers and hands are not the same. Also, all steaks don’t feel the same. You need to have lots and lots of experience before you are able to reliably figure out if your steak is done just by poking it. Your surest bet is for you to get a thermometer. Go buy yourself one of either an Instant Read Thermometer With a Backlight or its less expensive version; the Original Thermometer and forget about ever having an over- or undercooked meat again.
MISTAKE #12: DON’T BE IN A HURRY TO SERVE THE FOOD
The Thought: The meat is done, it’s smoking hot and we are all hungry, so what are we waiting for?
Reality Check: Cutting through a hot steak only ends up burning you and your guests’ mouth, worse still it also makes the meat to release some of its juices spilling it all over the cutting board or the plate.
Fix it: Give your meat some few minute off the grill before serving. This way, those juices will properly circulate and become thickened, thereby resulting in less spillage while you’re cutting through it. I’m sure you want the outside of your meat looking and tasting right by the time you serve it. Or on the other hand, you can toss the sides of the already cooled off grilled food over the highest heat possible on your grill for at about 30 seconds per side right before serving the food to your guests. This way, you still get to maintain the juicy and nicely crisp, sizzling taste of the meat.
Hope you loved this comprehensive guide!
Talk soon,
Joe mArcus


